How I became a Freelance Graphic Designer
Dive: Artist - Graphic Designer
Description: Creates visual content across mediums using art and design principles to communicate and solve problems.
Level: Level 1
Level Requirements: Researched/completed at least 3 different design principles, software tutorials, or artistic techniques.
Certified On:
Feb 1, 2026
Editor’s Note: On all dive certifications, we try to edit the writing as little as possible to preserve authenticity, personality, and writing style. We typically fix spelling errors, but minimally modify grammar and sentence structure (just enough to ensure readability).
Name: Emily Apel Break Diving Level: Recruit Number of Certified Dives: 1 From: United States In: United States
1. When and Why Did You Decide to Pursue This Dive At This Level? What was your inspiration and motivation?
2. How Long Did It Take For You To Accomplish This Dive At This Level From The Day You Decided To Pursue It, And Why Did It Take That Long?
3. What Was The Hardest Part About Achieving This Particular Dive Level?
4. What Was The Easiest Part About Achieving This Particular Dive Level?
5. What Is Your Advice For Someone Who Is Pursuing This Dive And Level?
Try to understand the purpose of what you're creating. Knowing the ‘why’ behind a piece helps guide the ‘how,’ leading to more intentional and effective design choices. Once you have that vision, start bringing it to life. Choose a medium you're drawn to and focus on getting better with it
6. What Are Some Of The Best Resources You Recommend to Those Pursuing This Dive At This Level, And Why Do You Recommend Them? Please Include Relevant Weblinks, If Applicable.
Resource 1: Andy Tells Things: Mastering the Pen tool - The pen tool is an essential for creating scalable work.
Resource 2: Flat Design for Beginners - This is the art style I started out with, and I found it really helpful for understanding the basics.
Resource 3: Photopea - A free almost identical version of photoshop
7. Tell Us A Story Of One Of Your Adventures While Pursuing This Dive (At This Level).
As I became more comfortable with illustration tools and techniques, I began to see opportunities to turn my designs into something more. I started selling my work by creating vector illustrations that could be printed on merchandise like stickers, t-shirts, and tote bags. This taught me a lot about how design translates to physical products, and how to think not just creatively, but commercially.
One of my first real client projects came when I had the chance to redesign the logo for my local bookstore. It was exciting to work with an actual business, and it gave me experience in thinking about branding—how a logo can reflect a business’s identity, values, and audience. I focused on creating something simple, memorable, and warm, to match the welcoming, community-focused spirit of the store.
That experience opened the door to a larger branding project for a local drone imaging company. This was a more in-depth process, involving multiple meetings to discuss the company's vision and how to represent that visually. We worked closely to choose the right fonts, color palette, and graphic style that would make the brand feel modern, tech-savvy, and trustworthy. It was my first experience really diving into the strategy side of design, and it taught me how important collaboration and communication are in the creative process.
8. What Evidence Did You Submit to Prove You Met the Requirements for This Dive and Level?
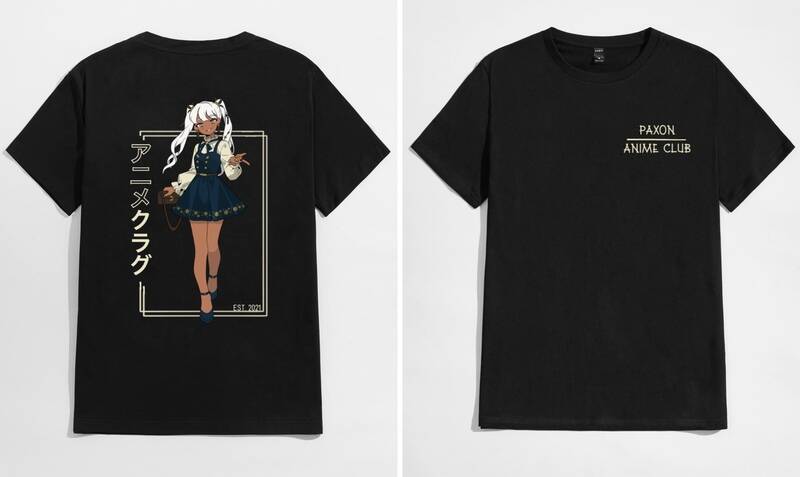 digital software on ipad
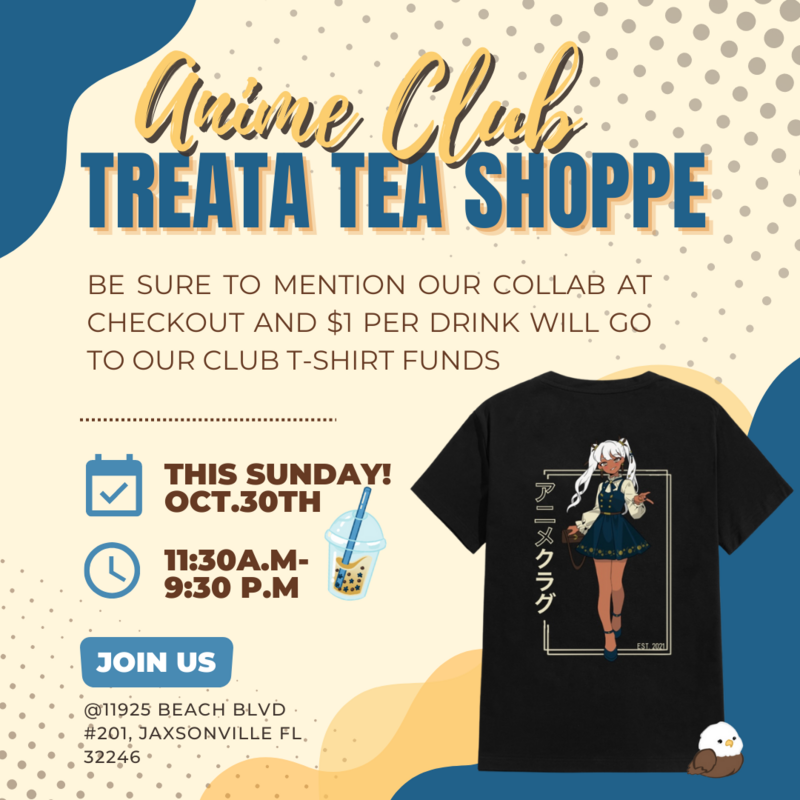 canva design
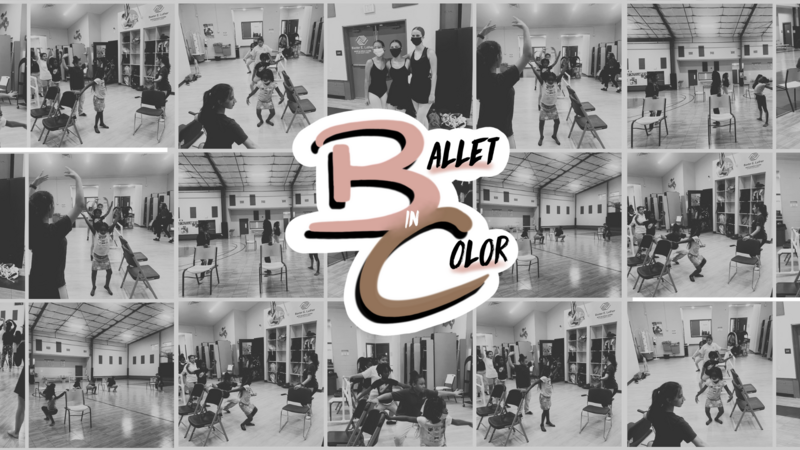 logo design; used canva and illustrator
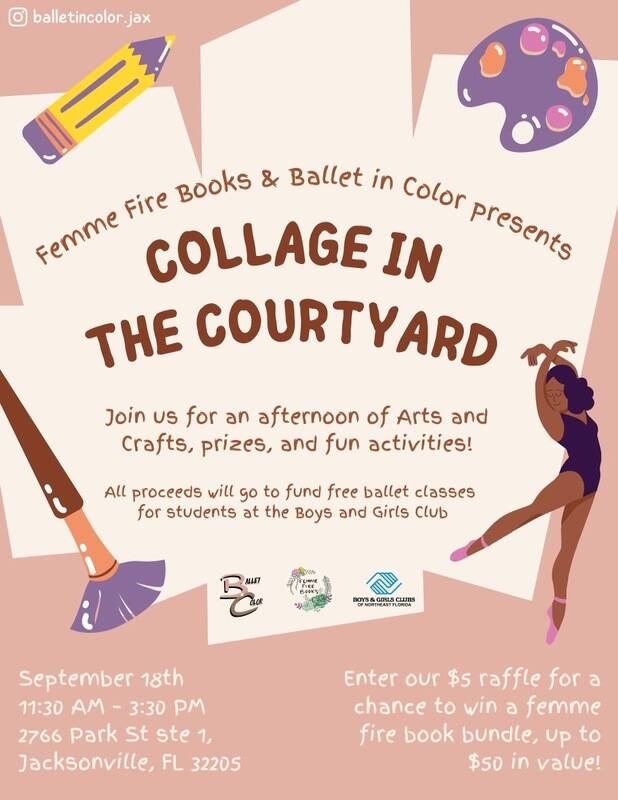 canva design: prominent use of color and composition to communicate message
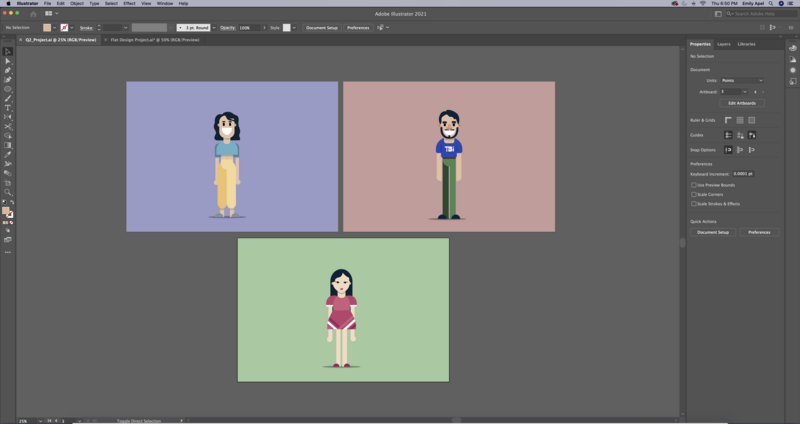 adobe illustrator
9. Will You Be Pursuing The Next Level For This Dive? If Yes, Why? If Not, Why Not?
10. What is the Break Diver's Creed?
Certificate photo:
And having made this post, and provided adequate evidence to the dive committee, Emily Apel is now hereby certified by Break Diving, Inc. as: Artist - Graphic Designer - Level 1. Congratulations ! Thank you for being an inspiration to others!
Certificate number: 937
The author above wrote this WYSEguidance post as one of the certification requirements to become certified by Break Diving, Inc. for a dive completed. Would you also like to find greater success, happiness, and friendship, and make genuine supportive connections with others around the world pursuing your same dreams? Come join us at Break Diving and soon your story will be the next one you read about on this site!